Three Sigma VDA-100 Video Distribution Amplifiers (DA) have been sitting on my shelf for a while. The DAs have been waiting to be repurposed for something useful. When Jackson Labs sent me a custom variant of the FireFly-IIA GPS-Locked double ovenized 10 MHZ reference oscillator, I decided to repurpose one of the VDA-100 as a 10 MHz reference distribution amplifier.
Having a 10 MHz reference in the lab is a good start. But if you have to feed more than one device with the 10 MHz reference signal, some means of distributing the 10 MHz reference signal is needed. The quickest and cheapest approach is just to daisy chain all instruments using BNC T-connectors. This method can cause rapid signal degradation due to mismatches and reflections rather quickly. The cleaner but still pretty inexpensive approach is to use a simple RF splitter. Unfortunately, this may not work for too many devices as the signal level might dip below the needed value for each instrument. The best approach is to use a professional distribution amplifier to isolate the reference input ports of the instruments and to provide a consistent amplitude.
Buying a professional 10 MHz Distribution Amplifier (DA) is pretty expensive. Luckily, old analog video DAs, such as the Sigma VDA-100, can be bought on eBay for little money. With a bandwidth of ~30 MHz they work just fine for 10 MHz reference distribution. The only real catch is that they are designed for an impedance of 75 Ohms, a common value for video systems. But there are some ways around it, more about that later.
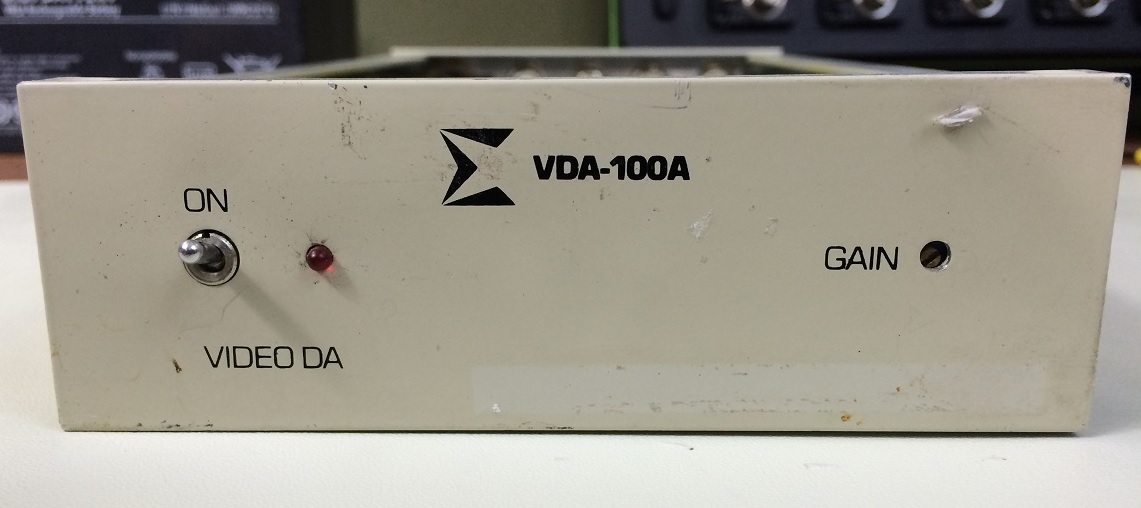
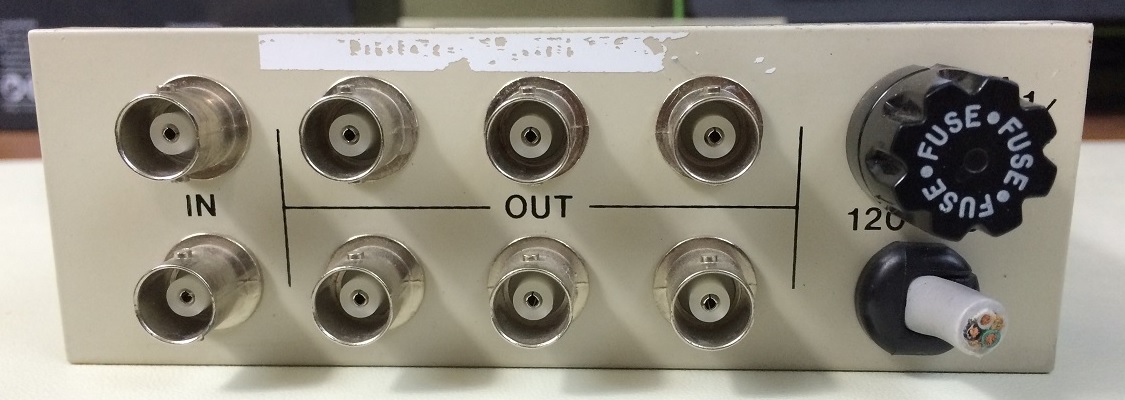
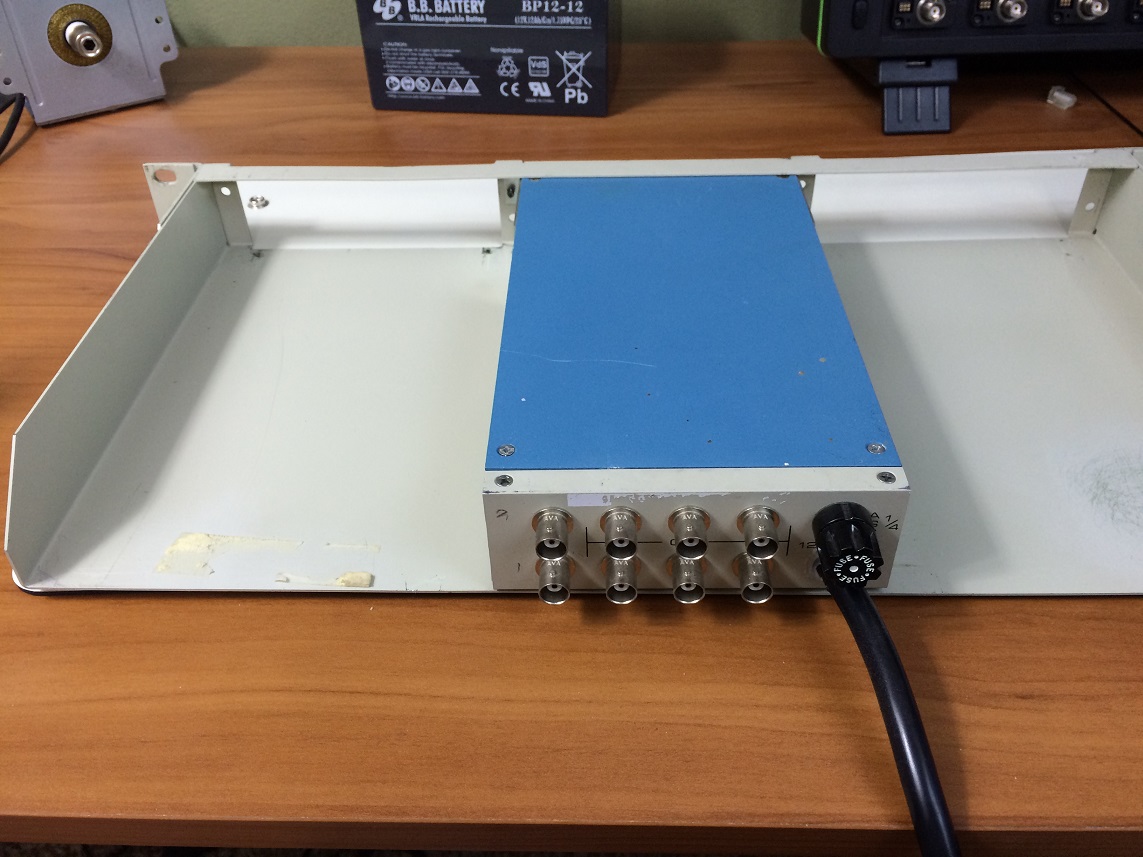
The Sigma VDA-100A offers 6 buffered outputs. Two looped-through inputs allow multiple of these amplifiers to be daisy chained together. The ones I bought of eBay even came with a convenient 19″ tray designed to hold three of these Video Distribution Amplifiers. The gain can be adjusted from the front using a small screwdriver. Some models of the VDA-100 have signal taps on the front-panel to check both the input and output signal for quality.
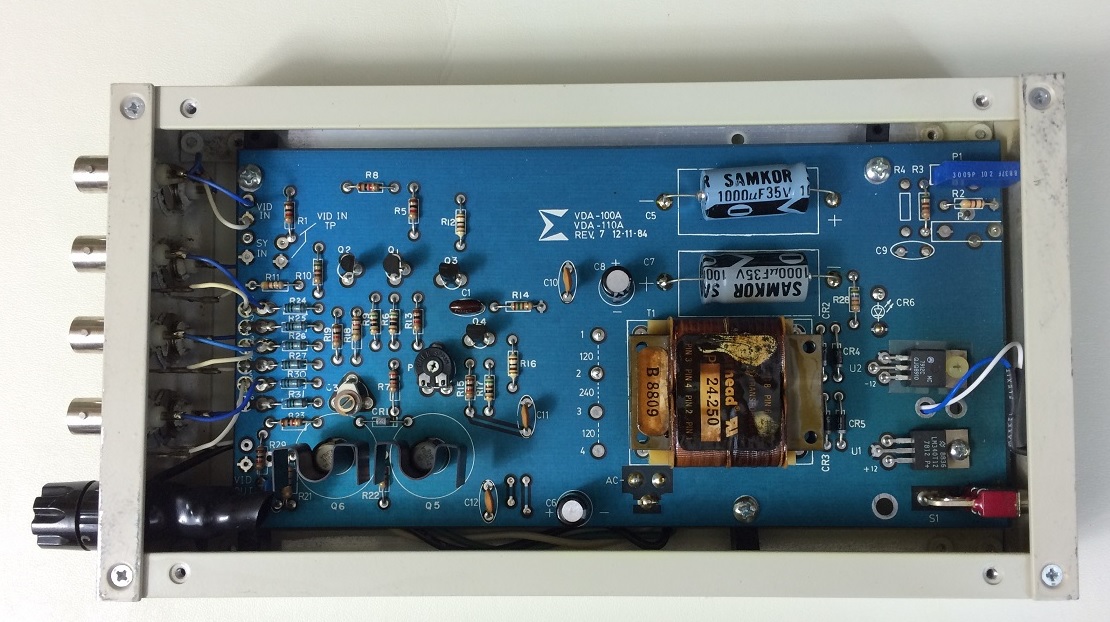
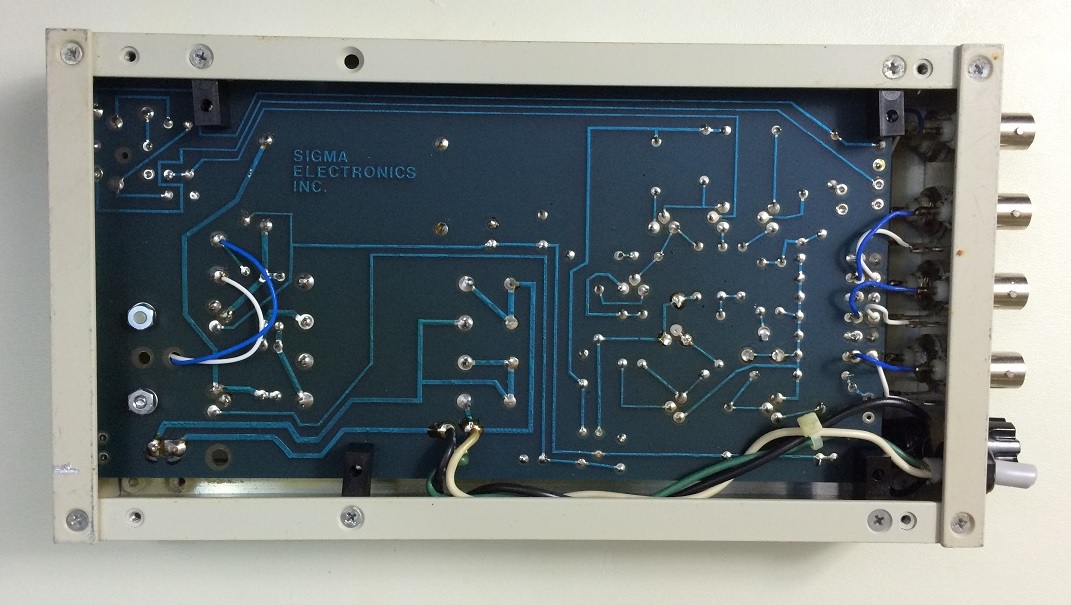
The PCB inside of the Sigma VDA-100 looks extremely clean and well designed. This comes as no surprise as professional broadcast equipment is usually designed this way. There are 6 x 75 Ohm output resistors, R24 through R31. Since they are responsible for setting the output impedance, simply replacing them with 50 Ohm (or 49.9 Ohm) 1 % resistors should convert this DA for use with 50 Ohm systems.
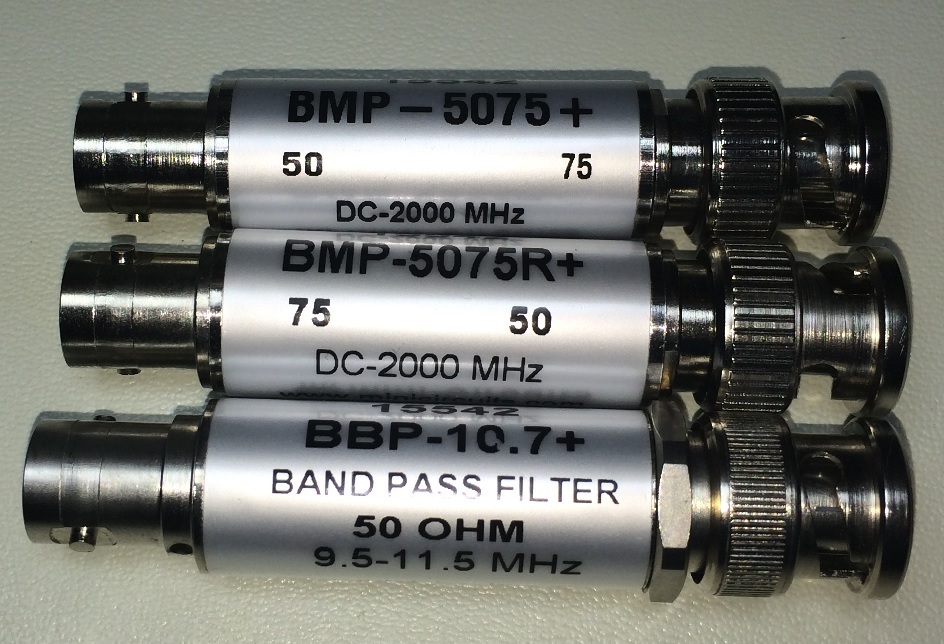
Please note that the input ports are high-impedance ports, NOT 75 Ohms. One can either leave it as it is and accept an impedance mismatch or – the way I did it – solder a 75 Ohm shunt resistor across the input port. This modification is not pictured as I took the pictures for illustration purposes much later from a second VDA-100A. One important thing to know is that most analog video DAs do not have the bandwidth to carry a 10 MHz square wave signal. Only sine wave signals are suitable for this setup. In case you are using a reference that puts out a square wave, you need to convert it to a sine wave. This can be done by using an inline low pass or band pass filter. Back when I was using a different Jackson Labs GPS-Locked TCXO with square wave output, I used a Mini Circuits BBP-10.7+ to get a clean sine wave.
For my setup I decided to leave the output ports at 75 Ohms impedance. Why? Because I had tons of high quality 75 Ohm impedance cable left over from a former broadcast transmitter side. And from a former project I had a stash of Mini Circuits BMP-5075R+ BNC 75 Ohm to 50 Ohm impedance matching pads left over. But if you are on a tight budget I suggest you replace the output resistors R24 through R31 instead and run 50 Ohm impedance coax to your equipment. In my case I used 75 Ohm impedance cable and plugged it through a Mini Circuits BMP-5075R+ each into my instruments. Note that some instruments have a 10 MHz input and 10 MHz output port. For professional equipment, the 10 MHz output is often a buffered output of the 10 MHz input. Therefore you can use this to daisy chain some equipment that’s physically located close to each other. In my setup I never daisy chained more than 3 devices and I always check the signal quality using my Tektronix MDO4104B-6.
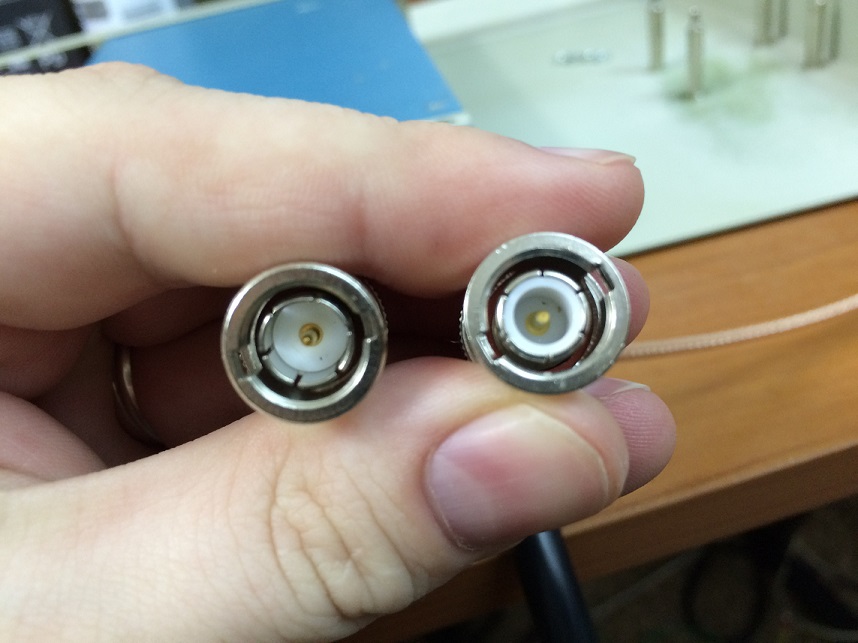
The picture above shows the difference between a 75 Ohm impedance BNC connector (left side) and a 50 Ohm impedance BNC connector (right side). The cable on the right side is a professional 75 Ohm impedance coax cable used in broadcast TV installations. The cable is designed to carry HD SDI (Serial Digital Interface) signals at a data rate of 1.485 Gbit/s. Recycling these high-quality cable leftovers saved me lots of time that I would otherwise have to spend crimping new cables.
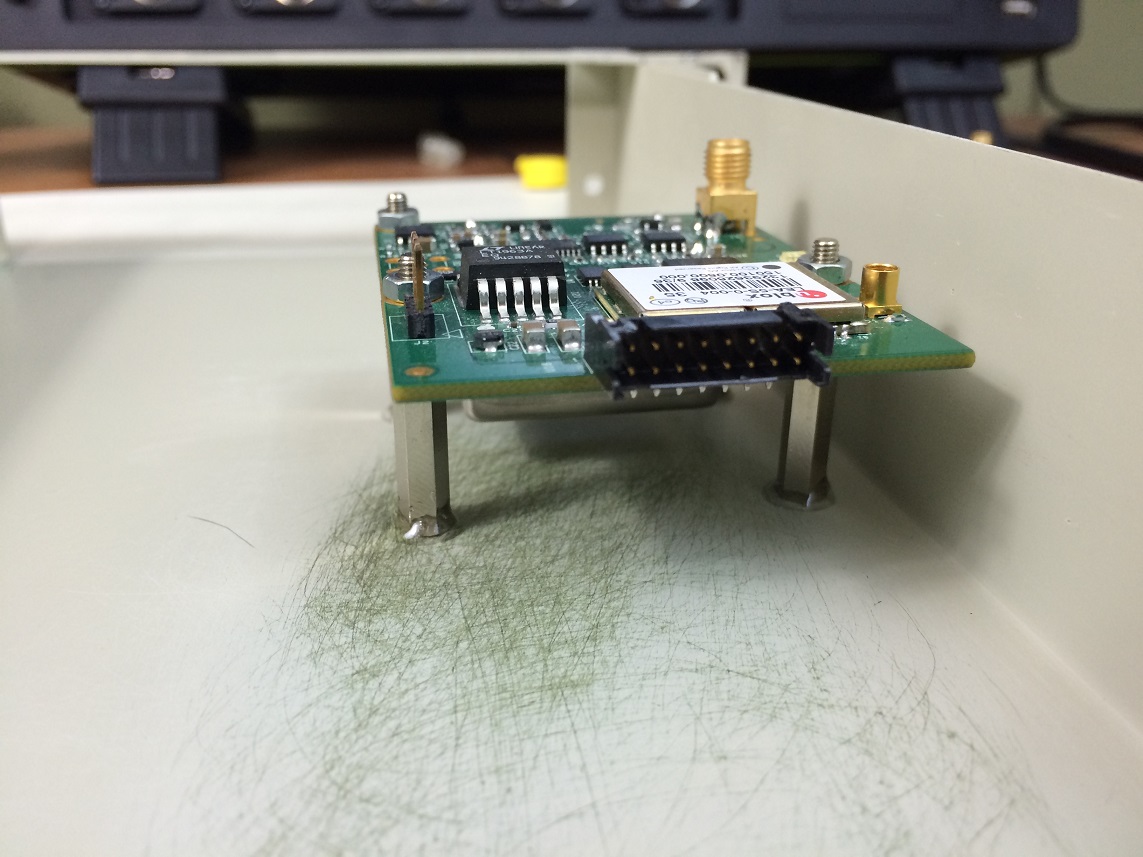
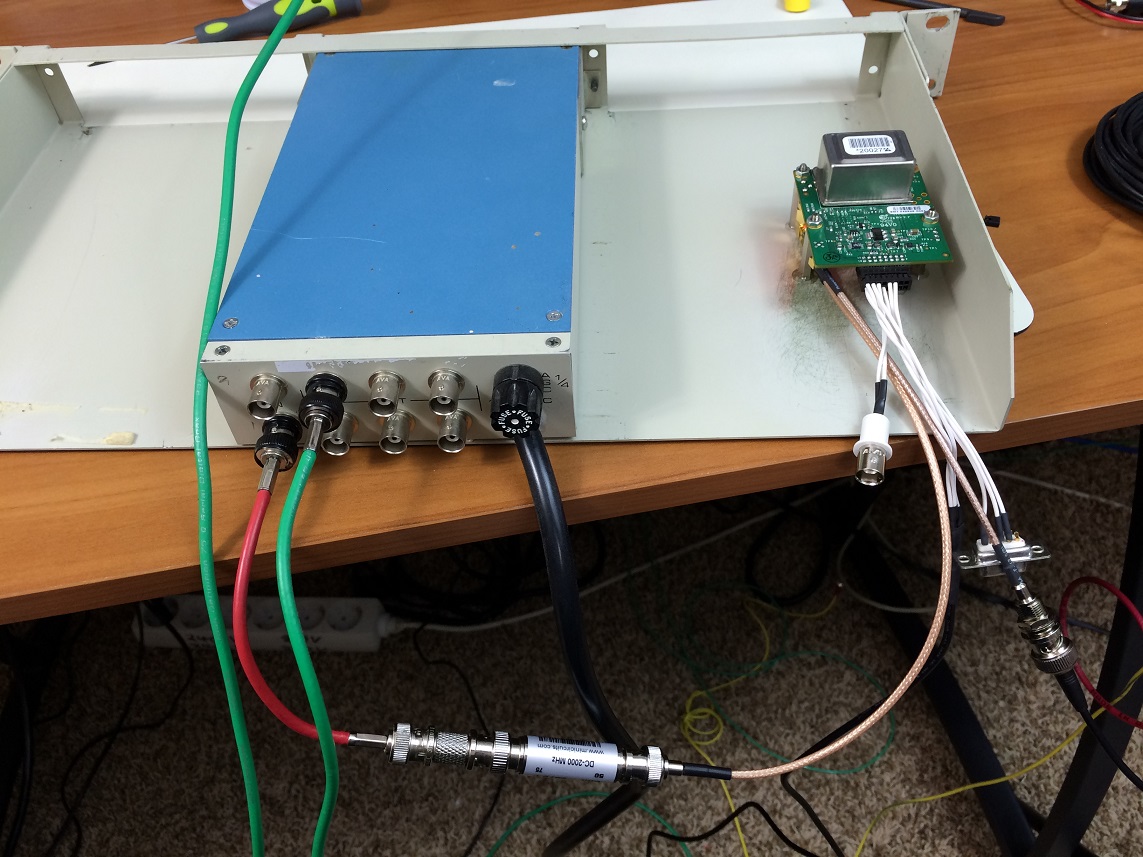
The three VDA-100A that I bought of eBay happened to come with a convenient 19″ tray. Installing the Jackson Labs FireFly-IIA proved rather easy. It was a perfect job for 25 mm x M3 standoffs and a bit of epoxy glue.
Of course I could have drilled holes in the bottom of the tray but the epoxy glue is not only pretty stable but it’s also easy to use. To get the dimensions just right, I mounted the FireFly-IIA with M3 nuts on the standoffs, applied epoxy glue very liberally to the standoffs and let it sit overnight. Before I glued everything in place I used some sandpaper to roughen the surface up and provide a better grip for the epoxy glue. It worked very well and the installation was surprisingly tough.
My final setup is pictured above. The FireFly-IIA is sitting on the right. It’s connected to a GPS antenna via MCX to BNC adapter. A serial data port is also available for configuration and NMEA position data output. A 50 Ohm MCX to BNC jumper connects the FireFly-IIA to a 50 Ohm to 75 Ohm minimum loss pad. From there a 75 Ohm jumper takes the reference signal into the amplifier. Of course I could have adjusted the input impedance of the VDA-100 to 50 Ohms and connected the FireFly-IIA directly. But I wanted to make sure that there is at least some isolation between the DA and the FireFly-IIA. And a matching pad provides at least some small amount of isolation. This will become an important fact when several of these DAs are daisy chained. Additionally it is less confusing if all ports of the DA have the same impedance.
The green output cable is connected to my Tektronix MDO4104B-6. Using the gain adjust potentiometer on the front of the VDA- and the MDO4104B-6 I adjusted the output signal to about 1.5 Vpp into a 50 Ohm load via 75 Ohm to 50 Ohm matching pad. This level provided the maximum level without visible signal distortion. A quick test with all my test equipment confirmed that this level was sufficient.
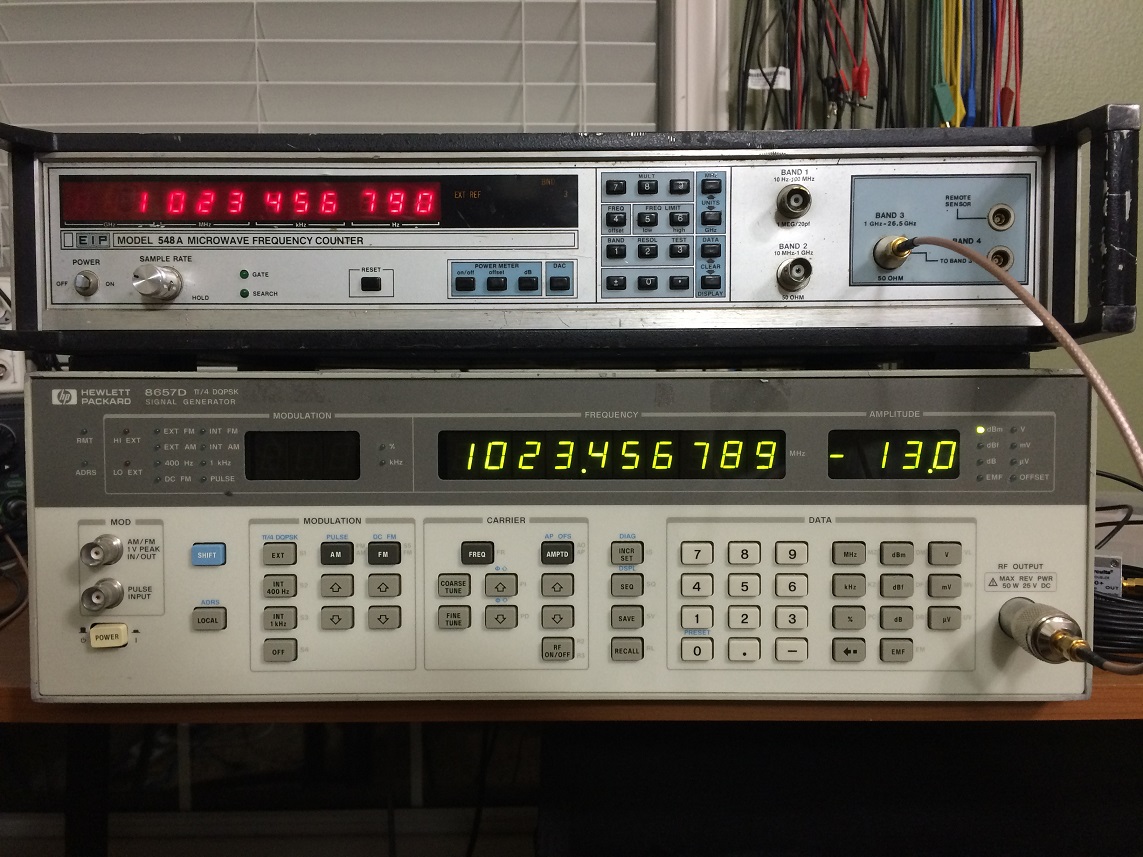
The above picture shows my HP 8657D signal generator and a EIP 548A frequency counter synchronized to the same reference signal. The frequency dialed into the HP 8657D is 1023.456789 MHz. The EIP frequency counter shows this value exactly.
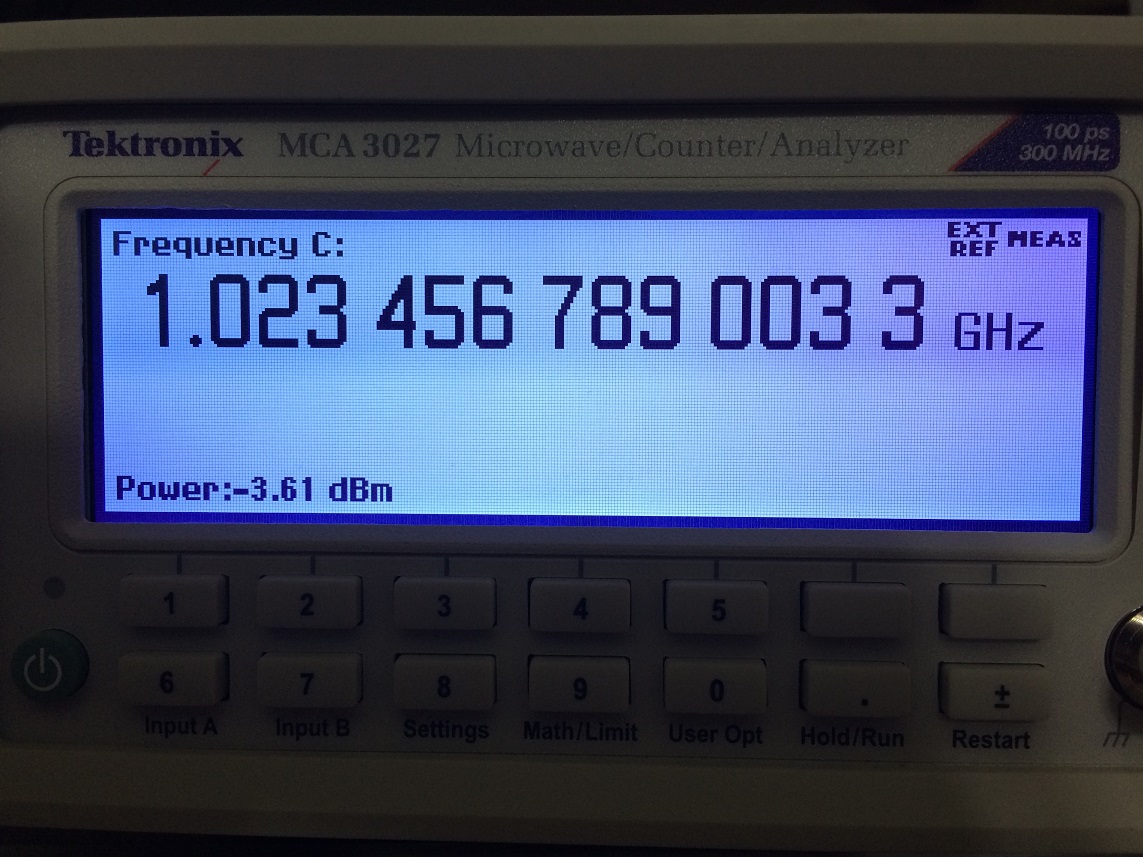
But just accuracy down to the 1 Hz digit wasn’t convincing enough for me. My Tektronix MCA3027 measures down to a 0.1 mHz digit. Synchronized via 10 MHz reference, it shows 3.3 mHz more than the selected frequency on the HP 8657D. Now that’s impressive! So if you’re looking for an inexpensive 10 MHz reference distribution amplifier, an old analog analog video DA may just be the way to go.
This setup works well for me but your requirements and specifications may vary. My primary suggestion would be to not mix 75 Ohm and 50 Ohm systems the way I did unless you have a good reason (e.g. availability of suitable coax) to do otherwise. The best way would probably be to replace the 75 Ohm resistors with 50 or 49.9 Ohm type 1% precision resistors.
Links and Sources:
[1] Jackson Labs, FireFly-IIA: http://www.jackson-labs.com/
Westerhold, S. (2015), "Video Distribution Amplifier | 10 MHz Reference Distribution". Baltic Lab High Frequency Projects Blog. ISSN (Online): 2751-8140., https://baltic-lab.com/2015/03/video-distribution-amplifier-10-mhz-reference-distribution/, (accessed: February 3, 2026).
- Conducted Emissions on the Bench: Implementing the CISPR 25 Voltage Method - December 15, 2025
- WebP-Images without Plugin - January 14, 2025
- Firewall Rules with (dynamic) DNS Hostname - January 14, 2025
Dino
Nice job as usual Sebastian. Another option for a nice distribution amp is the kit put out by TAPR (www.tapr.org/kits_tadd-1.html). I use three of them to bring either my Z3801A GPS or Rb standard signals to all the boxes on the bench. 73 – Dino KL0S